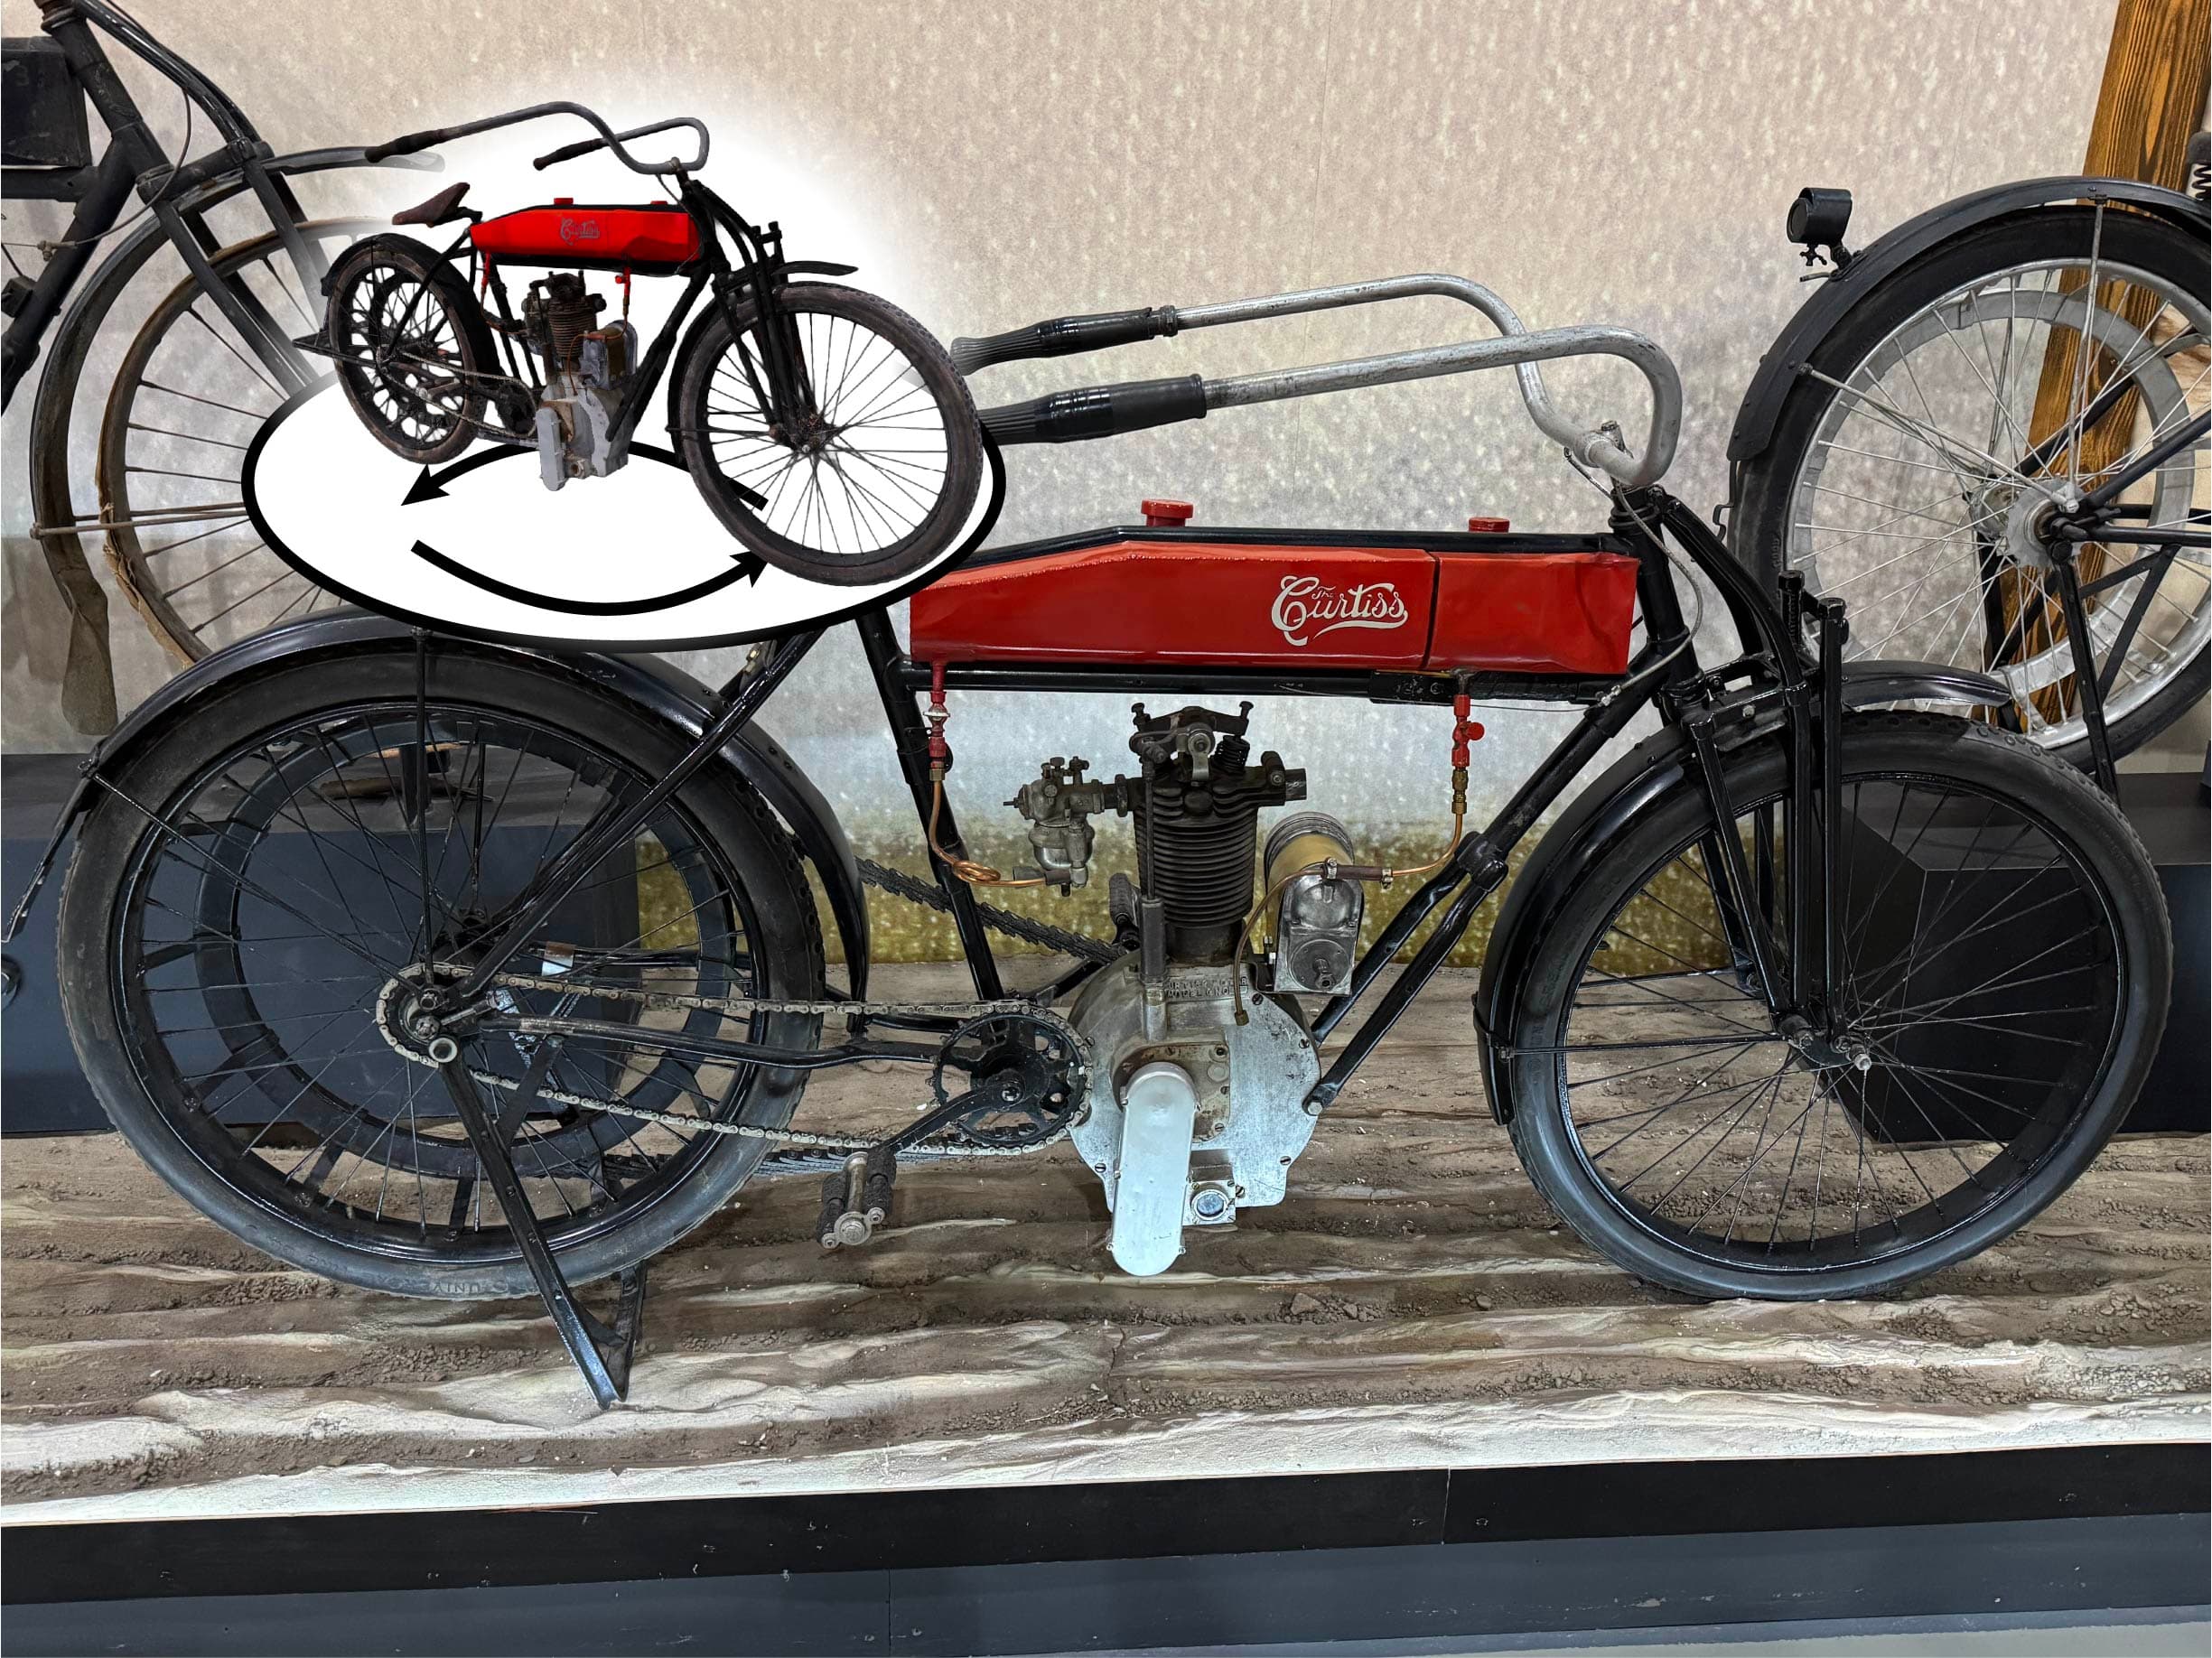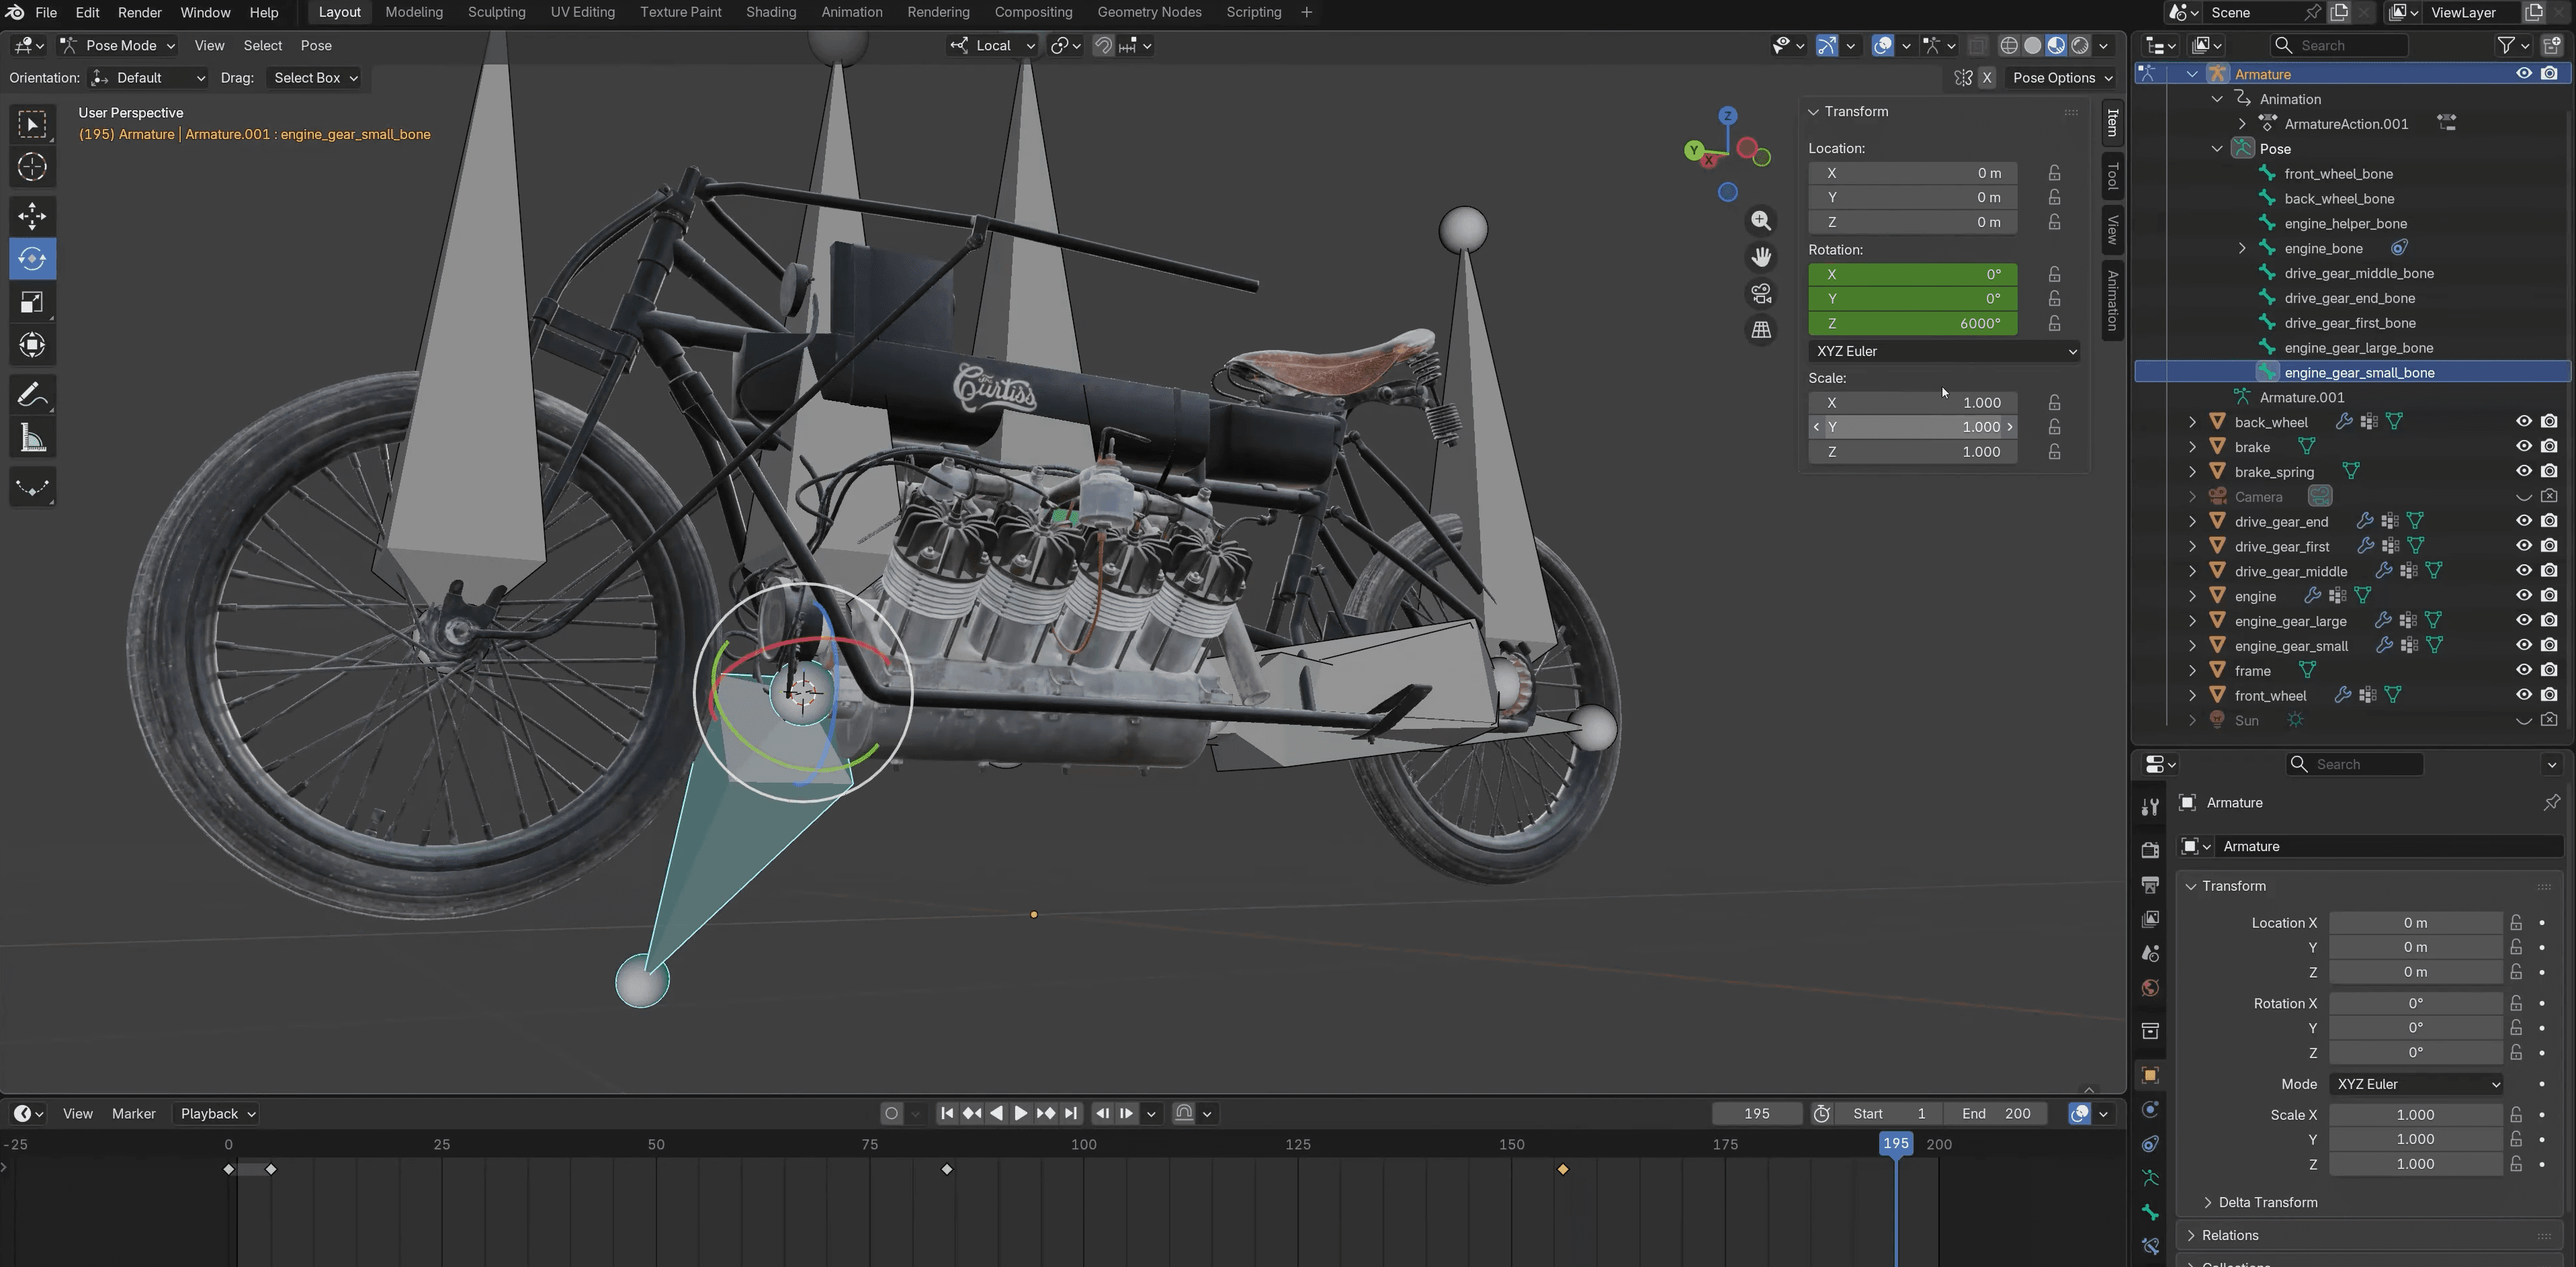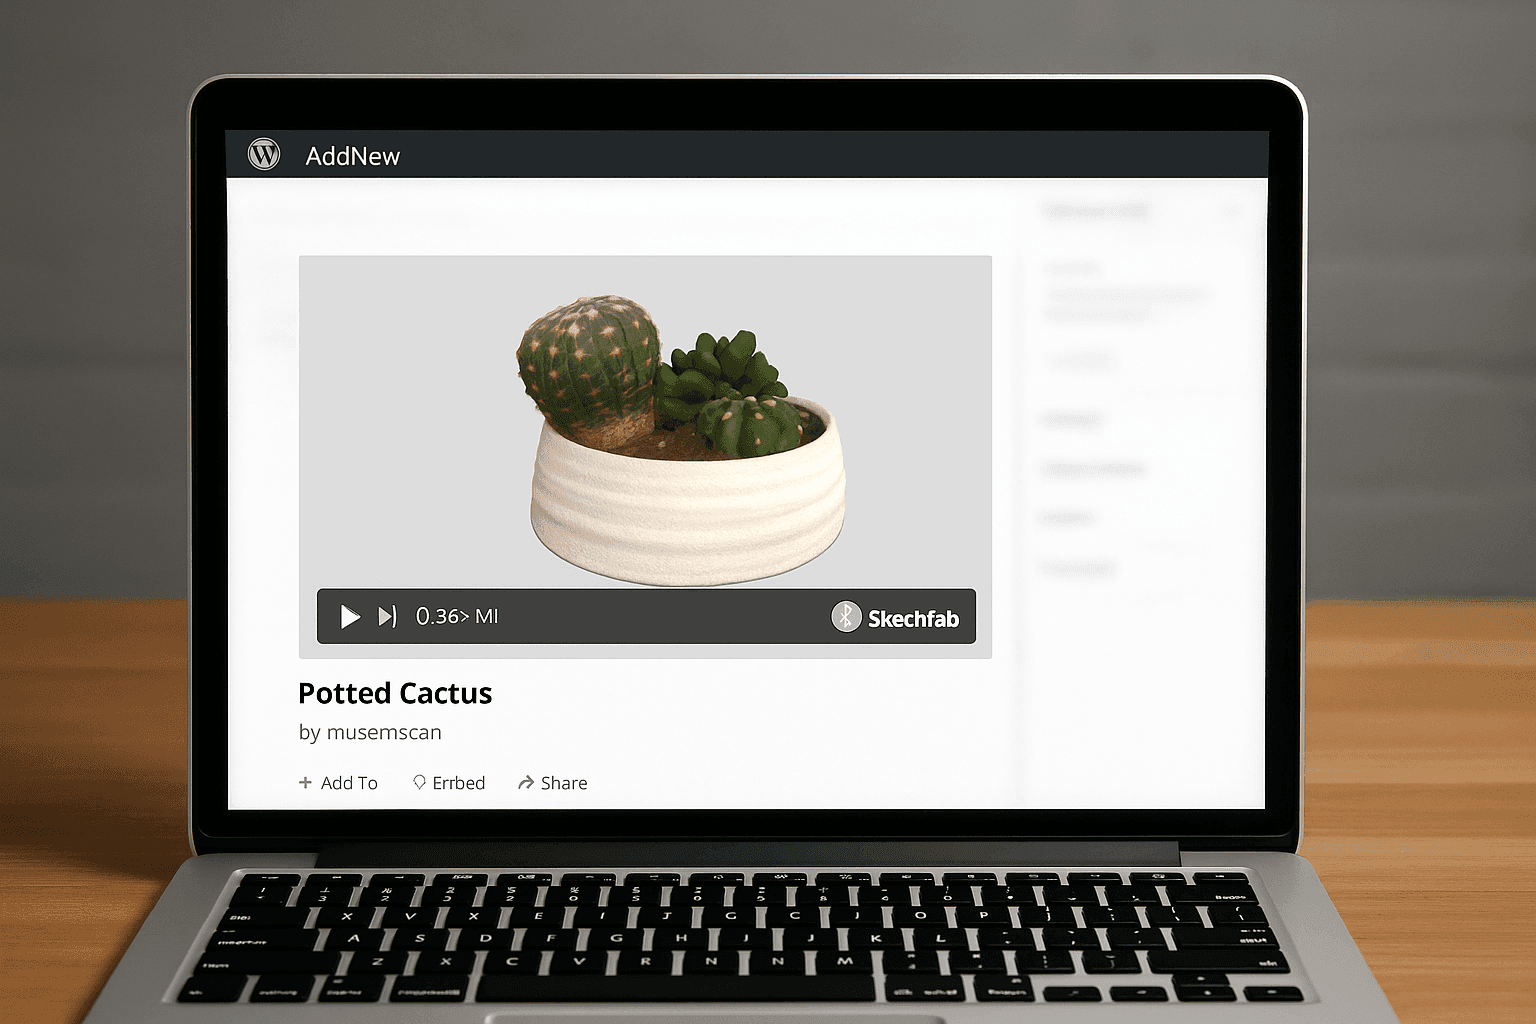
Publishing interactive 3D models on a WordPress site is a great way to make your work stand out. Whether you're presenting a museum artifact, an engineering prototype, or an artwork, embedding a Sketchfab viewer lets visitors explore your model directly in the browser—no extra software required.
This guide walks through the entire process for beginners, from uploading your file to Sketchfab to embedding it in WordPress.
Why use Sketchfab with WordPress?
Sketchfab is a powerful online 3D viewer that handles all the heavy lifting—rendering, lighting, and interaction—while WordPress provides flexible content management and customization options. Combined, they make it simple to:
- Present 3D models interactively on your portfolio, gallery, or project site.
- Keep files hosted securely and optimized for web delivery.
- Add annotations or rotations to explain key features.
- Leverage WordPress plugins for enhanced functionality and customization.
If your 3D model came from Museum Scan, use one of the .glb files included with your delivery. The .glb format packages both the mesh and textures in a single, web-ready file. For best performance and clarity, we recommend uploading the 2K resolution version.
Step 1. Create a Sketchfab account
- Go to Sketchfab.
- Click Sign Up in the top-right corner.
- Choose Google, Apple, or email registration.
- The free plan supports most personal and portfolio uses.

The Sketchfab sign-up page with multiple registration options
Step 2. Upload your 3D model
- Once logged in, click your profile icon → Upload.
- Drag and drop your .glb file, or browse to select it.
- Add a title, description, and optional tags.
- Choose whether to make the model public or private.
- Click Continue—processing can take a few minutes depending on size.
- When processing finishes, Sketchfab will generate an interactive preview of your model.

The upload dialog showing file selection and metadata options

Additional object properties and metadata settings
Step 3. Adjust the 3D viewer settings
- Click Edit 3D Settings on your model page.
- Experiment with the following settings:
- Lighting & environment: Pick a neutral or museum-style HDRI.
- Background color: Match your WordPress theme.
- Annotations: Label specific details or features.
- Save your changes.

The 3D settings panel where you can adjust lighting, background, and other display options

Your model appears in the Sketchfab viewer after successful upload
Step 4. Copy the embed code
- From the model page, click Share → Embed.

The embed code dialog showing the iframe code ready to copy
- Copy the
<iframe>code. It looks similar to:
Sketchfab Embed Code
<div class="sketchfab-embed-wrapper">
<iframe
  title="Potted Cactus"
  frameborder="0"
  allowfullscreen
  mozallowfullscreen="true"
  webkitallowfullscreen="true"
  allow="autoplay; fullscreen; xr-spatial-tracking"
  xr-spatial-tracking
  execution-while-out-of-viewport
  execution-while-not-rendered
  web-share
  src="https://sketchfab.com/models/3f89b0c4108f46738dee5915a72224d4/embed">
</iframe>
<p style="font-size: 13px; font-weight: normal; margin: 5px; color: #4A4A4A;">
  <a href="https://sketchfab.com/3d-models/potted-cactus-3f89b0c4108f46738dee5915a72224d4?utm_medium=embed&utm_campaign=share-popup&utm_content=3f89b0c4108f46738dee5915a72224d4"
     target="_blank"
     rel="nofollow"
     style="font-weight: bold; color: #1CAAD9;">
    Potted Cactus
  </a>
  by
  <a href="https://sketchfab.com/museumscan?utm_medium=embed&utm_campaign=share-popup&utm_content=3f89b0c4108f46738dee5915a72224d4"
     target="_blank"
     rel="nofollow"
     style="font-weight: bold; color: #1CAAD9;">
    museumscan
  </a>
  on
  <a href="https://sketchfab.com?utm_medium=embed&utm_campaign=share-popup&utm_content=3f89b0c4108f46738dee5915a72224d4"
     target="_blank"
     rel="nofollow"
     style="font-weight: bold; color: #1CAAD9;">
    Sketchfab
  </a>
</p>
</div>
You can later adjust many of the cosmetic parameters by manually editing this code.
Step 5. Embed the model in WordPress
WordPress offers several methods to embed your Sketchfab model. Choose the approach that best fits your technical comfort level and site setup.
Method 1: Using the HTML Block (Gutenberg Editor)

- In your WordPress admin, go to Posts or Pages → Add New.
- Click the + button to add a new block.
- Search for and select HTML block.
- Paste the complete Sketchfab
<iframe>code into the HTML block. - Click Preview to see how it looks, then Publish.

Adding the HTML block in WordPress Gutenberg editor and pasting the Sketchfab code
Method 2: Using the Classic Editor
- In the Classic Editor, switch to Text mode (not Visual).
- Paste the complete Sketchfab
<iframe>code where you want the model to appear. - Switch back to Visual mode to see a preview.
- Click Update or Publish.
Step 6. Customize the display
Responsive Design
To ensure your 3D model looks great on all devices, add responsive CSS:
Responsive CSS
.sketchfab-embed-wrapper {
position: relative;
width: 100%;
height: 0;
padding-bottom: 56.25%; /* 16:9 aspect ratio */
}

.sketchfab-embed-wrapper iframe {
position: absolute;
top: 0;
left: 0;
width: 100%;
height: 100%;
border: none;
}
Theme Integration
- Add the CSS above to your theme's
style.cssfile or use the WordPress Customizer. - For full-width layouts, wrap your embed in a container with appropriate margins.
- Consider adding captions or descriptions below the model for context.
Adjusting Embed Size
If your Sketchfab embed appears too small, you can add inline CSS to control the dimensions:

Example of a Sketchfab embed that appears too small on the page
To fix this, you'll need to edit the embed code in WordPress. First, add a Custom HTML block:
In Line CSS
<div class="sketchfab-embed-wrapper" style="width: 60%; max-width: 100%; max-height: 100%; margin: 0 auto; position: relative; aspect-ratio: 16 / 9">
    <iframe
      title="Potted Cactus"
      frameborder="0"
      allowfullscreen
      mozallowfullscreen="true"
      webkitallowfullscreen="true"
      allow="autoplay; fullscreen; xr-spatial-tracking"
      xr-spatial-tracking
      execution-while-out-of-viewport
      execution-while-not-rendered
      web-share
      src="https://sketchfab.com/models/3f89b0c4108f46738dee5915a72224d4/embed"
      style="width: 100%; height: 100%; display: block;">
    </iframe>
Paste the custom HTML code with inline CSS into the Custom HTML block
The key parameters you can adjust:
width: 60%- Sets the container width (adjust percentage as needed)max-width: 100%- Prevents overflow on smaller screensaspect-ratio: 16 / 9- Maintains consistent proportionsmargin: 0 auto- Centers the embed horizontally

The same embed after applying custom CSS sizing - much more prominent and user-friendly
Step 7. Publish and verify
- Click Publish or Update in WordPress to save your changes.
- Visit the live page and confirm the Sketchfab viewer loads correctly.
- Test on different devices and browsers to ensure compatibility.
- Rotate, zoom, and inspect the model—performance and lighting should match your Sketchfab preview.
- If the viewer doesn't appear, check the following:
- The iframe embed code wasn't stripped by WordPress security settings.
- Your theme supports iframe embeds.
- Your browser allows third-party iframes.
Advanced WordPress Integration
Using Custom Fields
For sites with multiple 3D models, consider using custom fields:
- Install Advanced Custom Fields (ACF) plugin.
- Create a field group for 3D models.
- Add fields for Sketchfab URL, title, description, and embed code.
- Use ACF functions in your theme to display models consistently.
Creating a 3D Gallery
- Use WordPress's built-in gallery functionality with custom post types.
- Create a custom page template to display multiple models in a grid.
- Add filtering and search capabilities using plugins like Ivory Search.
Troubleshooting Common Issues
Model Not Displaying
- Security plugins: Some security plugins block iframe embeds. Whitelist sketchfab.com domains.
- Theme conflicts: Switch to a default theme temporarily to test.
- JavaScript errors: Check browser console for errors that might prevent loading.
Performance Issues
- Lazy loading: Use plugins like Lazy Load to defer 3D model loading until needed.
- Caching: Ensure your caching plugin doesn't interfere with dynamic content.
- Mobile optimization: Consider using lower-resolution models for mobile devices.
Summary checklist
- ✅ Upload your .glb file (2K recommended) to Sketchfab.
- ✅ Configure lighting and annotations.
- ✅ Copy the embed iframe.
- ✅ Choose embedding method (HTML block, Classic editor, or plugin).
- ✅ Add responsive CSS for mobile compatibility.
- ✅ Publish and test across devices.
At Museum Scan, every deliverable includes optimized .glb files ready for immediate upload to Sketchfab or custom web platforms. For organizations seeking deeper control, we also offer professionally hosted interactive experiences—complete with full design customization, security features, and advanced interactivity suitable for museum-grade exhibits and educational deployments.
Bring Your 3D Content to Life
Explore our 3D Scanning solutions to see what's possible beyond standard embeds.
Get Started Today