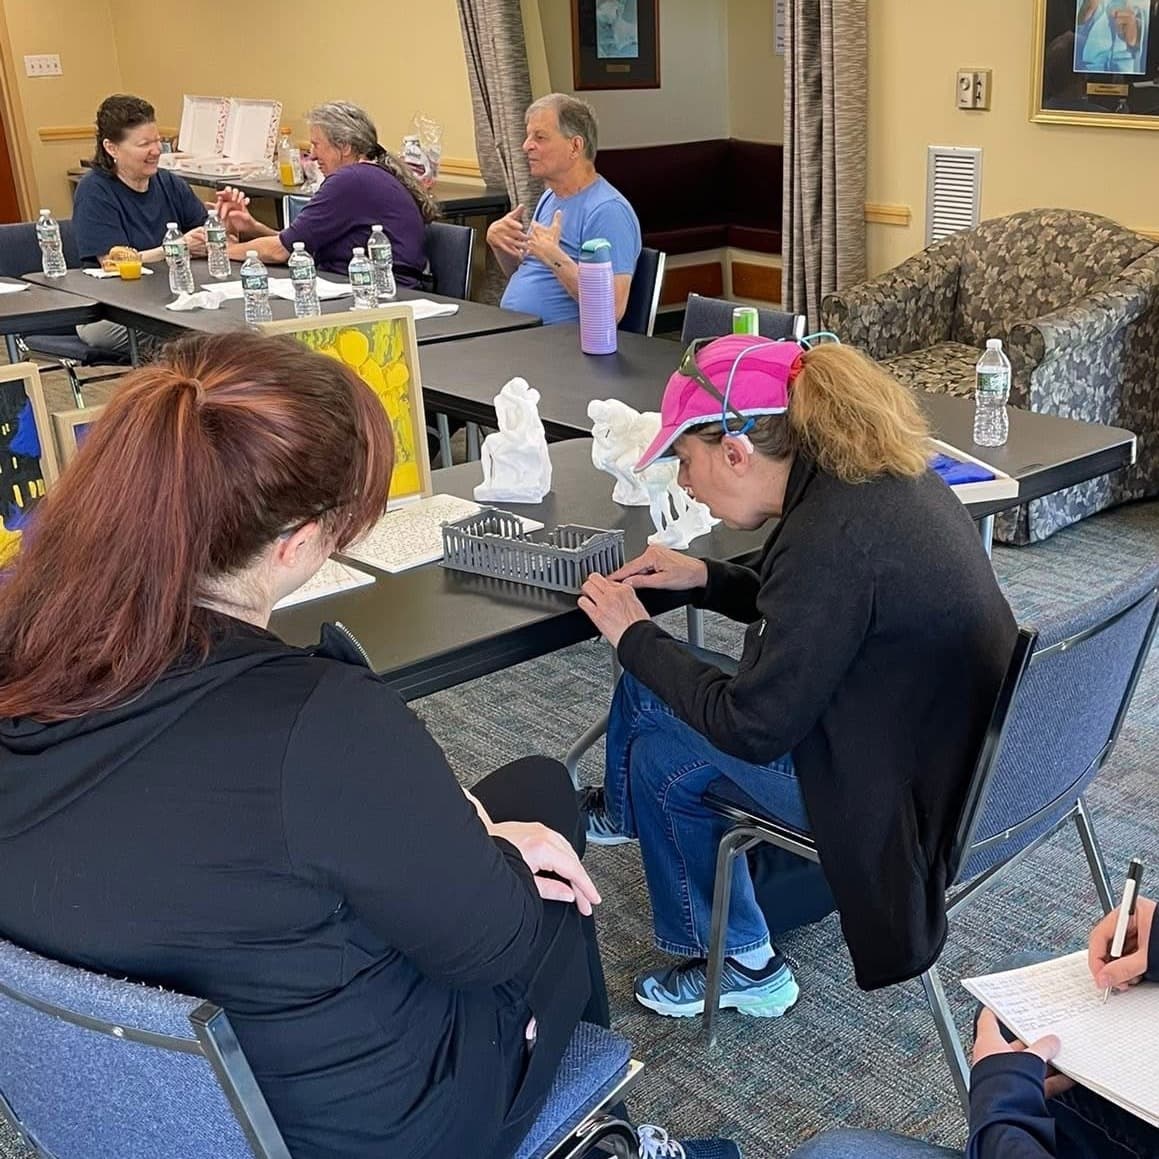
On a recent visit to the Deaf Blind Contact Center in Danvers, we set up a table that stopped people mid-conversation. Across its surface sat a miniature Colosseum, a replica of Rodin's The Thinker, another classical figure, and four Contour Canvas raised-relief panels of well-known paintings. The sculptures are all open-source models, downloaded free from Scan the World and printed on a simple desktop printer. The Contour Canvas panels are our own design.
The room was a workshop for educators and community members exploring how 3D printing can make cultural heritage physically accessible. The response was immediate. For some in the room, it was their first encounter with these works. For others, it was a new way into something familiar: a piece they had known from a book or a museum visit, now something they could hold and turn over in their hands. What takes months of planning and significant budget to replicate through museum lending programs had taken an afternoon of printing and a few dollars of filament. We shared more from the visit on LinkedIn.
That experience is what this guide is about. Scan the World is a free, open-source library of over 16,000 3D-scanned cultural artifacts, ready to download and print on any desktop 3D printer. If you teach history, art, science, or special education, or run a library, makerspace, or homeschool, this database puts museum-quality tactile tools within reach at essentially zero cost. Here is how to use it.
What Is Scan the World?
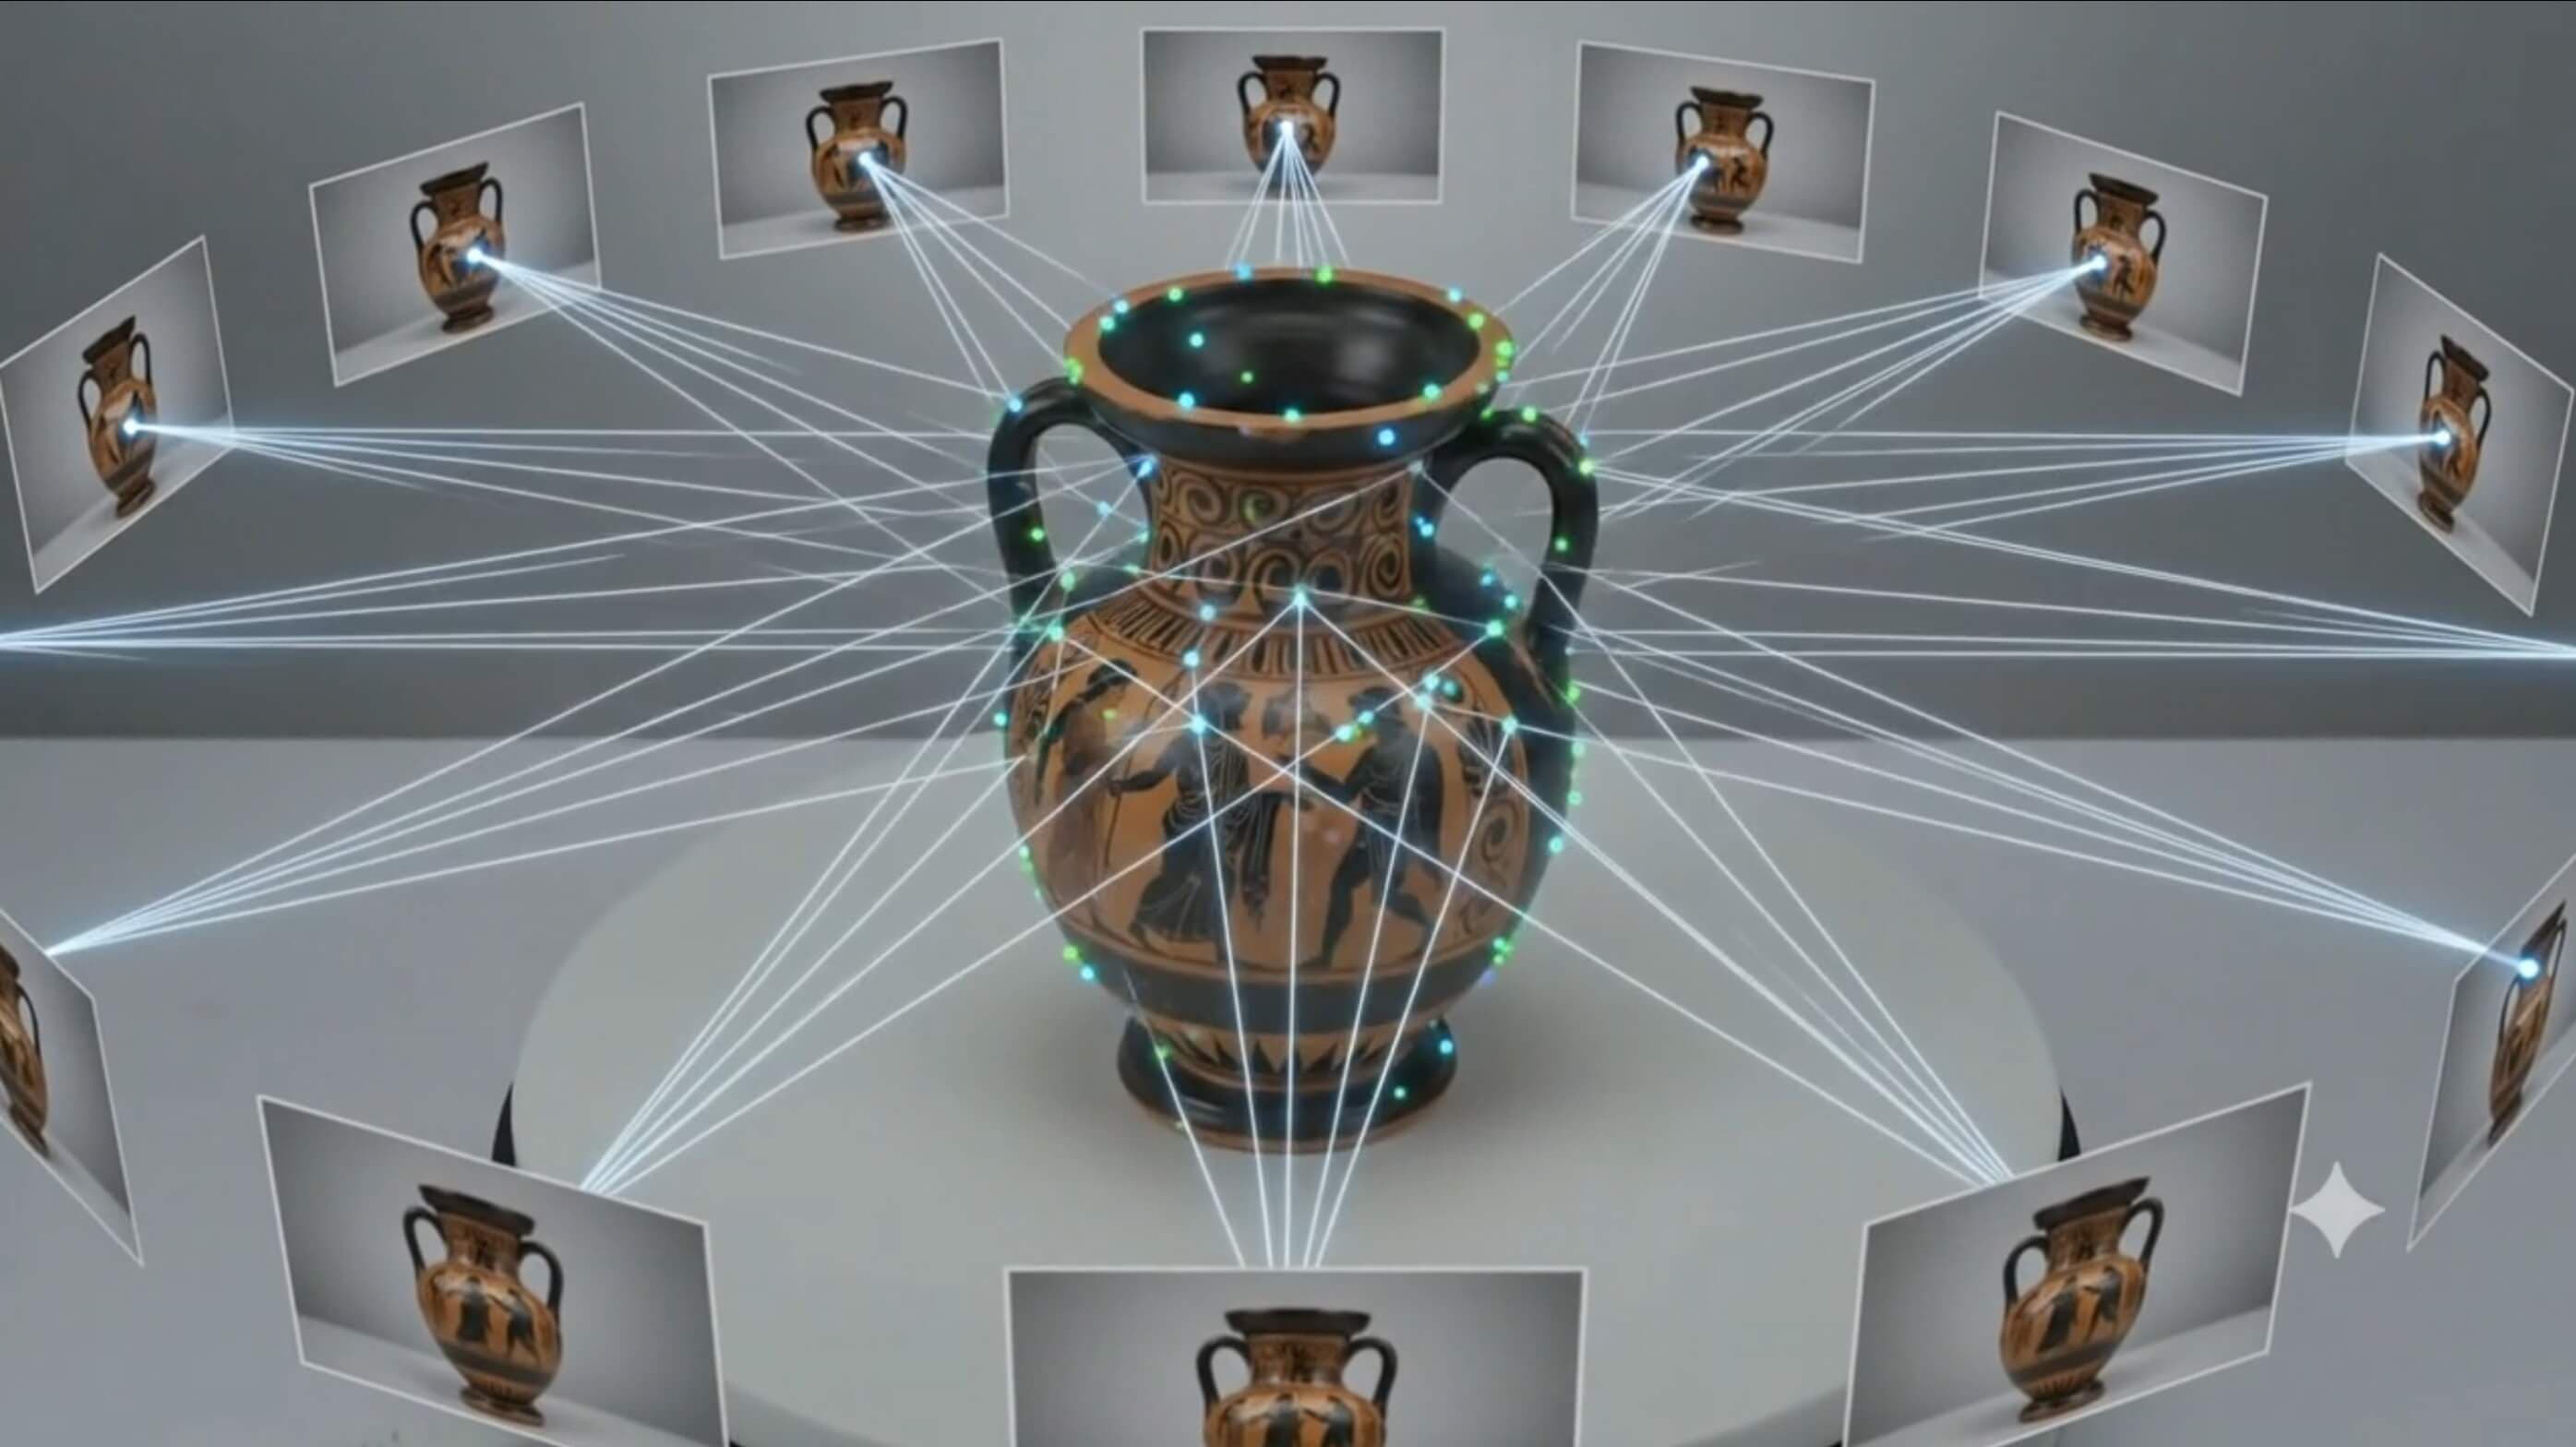
Scan the World launched in 2014 as a community-driven project with a single mission: make cultural heritage printable. Contributors use photogrammetry (the same technique used to digitize museum collections) to scan sculptures, artifacts, and monuments and publish the resulting 3D files for free under Creative Commons licenses on MyMiniFactory.
The collection now spans over 16,000 objects. Western classics like Rodin's The Thinker, the Nefertiti bust, and Michelangelo's David share space with Egyptian artifacts, pre-Columbian objects, natural history specimens, architectural models, and community-contributed pieces from dozens of countries. Google Arts & Culture and more than 50 cultural institutions have partnered with the project.
Each model page includes estimated print time, recommended material, suggested scale, and community-submitted photos showing real print results. The files themselves are standard STL geometry, the same format used across professional and consumer 3D printing workflows. Below is what one of the most popular models in the collection, Rodin's The Thinker, looks like as a raw mesh after downloading:

The Thinker STL from Scan the World. The dense wireframe mesh captures Rodin's surface geometry in high fidelity.
The mesh detail in these scans is genuine. These are not simplified artistic models built by hobbyists. They are photogrammetric captures of real museum objects, with the surface geometry to prove it. What distinguishes Scan the World from a general model repository is that its files are prepared specifically for printing, so you are not starting from a raw research scan that requires cleanup before it is printable.
All downloads are free. A MyMiniFactory account is optional but makes tracking favorites and building a recurring print library considerably easier.
Why Tactile Models Transform Learning
The argument for physical models is straightforward: a student who holds an object remembers it differently than one who looks at a photograph. Hands-on interaction engages spatial and kinesthetic processing that flat images cannot reach. For several groups of learners, this difference is not just pedagogical preference. For some learners, it is the difference between access and exclusion.
Visual Accessibility
Tactile models give blind and low-vision students direct access to sculptures, fossils, and artifacts that exist only as images or glass-case originals. A raised-relief print of a painting or a scaled replica of an ancient bust brings those objects into the hands of learners who have no other way to experience them.
Kinesthetic & Neurodiverse Learners
Students who engage most fully through touch (including many with ADHD, dyslexia, or sensory processing differences) benefit from models that invite handling rather than observation from a distance. Physical interaction creates a point of entry that text and lecture cannot always provide.
Cross-Subject Reach
A single print can serve art history, world history, science, and geography in one classroom week. The same Colosseum model that anchors an ancient Rome unit can also teach architectural scale and engineering. A printed skull supports both biology and cultural history simultaneously.
There is also an equity dimension. Museum replica programs exist, but they are expensive, require institutional access, and move slowly through loan processes. A classroom that can print from Scan the World is not waiting for a partner institution or a grant cycle. They download, print, and teach, often within 48 hours.

Educators and community members exploring 3D-printed replicas of cultural artifacts at a recent tactile learning workshop.
How to Find, Prepare, and Print from Scan the World
1
Browse the Database
Navigate to myminifactory.com/scantheworld and use the search bar or filters to explore by collection, artist, era, or keyword. Useful starting terms include "sculpture," "bust," "skull," "relief," and "architecture." The collection is tagged by cultural origin and object type, so filtering by "Egyptian" or "Roman" quickly surfaces curriculum-relevant results. The homepage also features curated collections organized by theme, which is a good entry point if you are browsing without a specific object in mind.
2
Evaluate Before Downloading
Before downloading, read the full listing carefully. Check for community-submitted photos showing how the model actually prints, not just the 3D preview render, which can be misleading about surface detail and structural stability. Look at the estimated print time and material recommendation. Pay attention to geometry: models described as "tactile-friendly" or "educational" tend to have stronger raised surfaces and fewer delicate features that snap during handling. Avoid models with very thin spires, unsupported outstretched limbs, or extremely fine detail as your first prints.
3
Download the STL and Set Your Scale
STL files download directly from the model page at no cost. Once you have the file, import it into your slicer (Cura and PrusaSlicer are both free and well-documented). Before slicing, decide on scale: the default file dimensions are often at original museum scale, which can be impractically large. For a desk-sized classroom model that fits in one hand, scaling to 50–75% is usually right. For dramatic tactile impact or for learners who benefit from larger, easier-to-grip objects, scale up to 150–200%.
4
Configure Your Slicer for Tactile Detail
This is where the print quality is actually determined. Once the model is positioned on the build plate in your slicer, the settings you choose will define both how it feels in the hand and how durable it is in the classroom. The screenshot below shows The Thinker ready to slice. The internal structure visible in the preview reflects exactly the kind of settings decisions covered in the next section.

The Thinker in PrusaSlicer, positioned on the build plate and ready to slice. The internal structure preview reflects the infill and wall settings discussed below.
5
Post-Process and Integrate Into Your Lesson
Models are ready to use straight off the printer. No finishing is required to get value from them in a classroom or workshop setting. If you want a better surface finish, painting is optional but straightforward: prime the model first, sand with a high-grit sandpaper (we typically use 400-grit wet sanding, though for most educational prints that is likely overkill), apply your paint, and most importantly finish with a spray top coat to protect the surface and give it a consistent feel. We use this matte clear from Rust-Oleum, available at Home Depot. The top coat makes the biggest difference in how finished the model feels in the hand. Once prints are ready, pair them with a small label card noting the object's name, origin, and date, and consider adding a QR code linking to the original museum entry or the MyMiniFactory page so students can connect the physical object to its digital context.
Print Settings We Use
Getting the right feel from a tactile model comes down to a handful of slicer decisions. Here is exactly how we set up the models printed for the workshop:
Recommended Settings for Tactile Prints
- Infill: 15–20%. This is enough structural integrity for a classroom model that will be picked up and handled repeatedly. You do not need 40% infill for a solid feel. The walls and top layers do most of that work.
- Walls: 2–3 perimeters. Two walls print fast and are sufficient for most figures. Add a third wall if the model has thin regions (fingers, outstretched arms, narrow architectural columns) that might crack under repeated handling. If models are getting damaged in use, increasing wall count is the most effective lever for improving part strength.
- Top layers: 5–7. This is the most important setting for tactile quality. More top layers means a denser, smoother surface over the infill. Below 5 top layers, large flat faces can feel hollow or rough to the touch. Do not drop below 5 for any model intended to be touched and examined.
- Layer height: 0.2mm for speed, 0.1mm or smaller for quality. A 0.2mm layer height prints roughly twice as fast and is acceptable for architectural models or pieces where overall form matters more than surface texture. For figurative sculpture where a visitor will run their fingers along a face, drapery, or carved detail, 0.1mm or finer will feel noticeably better. The surface detail in the Thinker's musculature, for example, is much more readable at 0.1mm than 0.2mm.
- To increase weight: add bottom layers or raise infill. A heavier model feels more substantial and tends to generate better engagement. Increase bottom layers from the default (usually 4) to 6–8, or bump infill to 25–30%. Either approach adds weight without significantly increasing print time compared to raising wall count.
Standard PLA works well for the vast majority of educational prints and is the most affordable option. Our go-to filament balancing cost and strength is SUNLU PLA+ 2.0. For pieces that will see very heavy daily handling, PETG is worth the slight cost increase. It is more impact-resistant and does not become brittle over time the way PLA can in warm storage environments.
What We Saw in the Room
The workshop captured in these photos was held at the Deaf Blind Contact Center in Danvers, with participants who have varying degrees of vision. The response to the physical models was immediate. For many in the room, these were works they had never had a direct way to engage with before. The weight of The Thinker in your hands, the actual scale of the Colosseum, the texture difference between a figure's carved drapery and its smooth face. None of that is available any other way.
The Contour Canvas raised-relief panels stood out. A raised version of Starry Night where the sky is a texture you can trace and the cypress and village are physically distinct offers access that a flat reproduction cannot. Several participants said they felt like they were encountering the work for the first time.

Exploring a printed model by touch at the Deaf Blind Contact Center in Danvers.
Libraries are beginning to build exactly this kind of lending collection: a curated set of printed cultural objects available for checkout, paired with educational materials and accessible to patrons who cannot travel to a major institution. Scan the World gives any library or school the raw material to build that collection this month, not next fiscal year, and without a significant capital investment.

Physical objects generate conversation in a way that slides rarely do.
Where to Start
Scan the World has removed every barrier except the printer and the filament. The models are free, the licenses are clear, and the educational use cases are immediate. Whether you are building a world history unit, assembling an accessibility resource for your library, or running a makerspace project, there is almost certainly a model in the database that serves your goals.
The most practical entry point is a curated first batch of three to five objects that map directly to your curriculum. Confirm each has community print photos showing clean results, run a test print at 50% scale before committing to a full session, and get those objects into students' hands as quickly as possible.
- Scan the World on MyMiniFactory: browse and download the full collection
- Ultimaker Cura: free slicer with beginner-friendly presets
- PrusaSlicer: free slicer with strong community documentation
Need Models of Your Own Collection?
Scan the World covers thousands of well-known works, but your institution's artifacts are unique. We create custom 3D-scanned models of specific collection objects (prints built from the actual piece rather than a generic database file) as well as Contour Canvas tactile paintings like the raised-relief Van Gogh and Starry Night panels you saw in the workshop photos above. If you want tactile tools built around your collection and your curriculum, reach out and we can talk through what that looks like.
Get Started Today