Imagine a school group touring your collection while one student opens a 3D model of a fragile artifact on a phone, rotates it, zooms in, and notices details they cannot see through glass. That moment captures the promise of 3D scanning in museums and archives: interactive learning, broader accessibility, and digital protection for objects that matter most.
But scanning everything is rarely realistic. Time, staff capacity, equipment limits, and conservation requirements force hard choices. The most successful programs are not built on scanning volume; they are built on selection quality.
The best objects for 3D scanning are those that are both technically feasible and institutionally meaningful. In practice, that means balancing three factors: can it be scanned well, will it teach effectively, and should it be safeguarded digitally now. This guide walks through a practical decision framework that helps teams make those choices with confidence.
Technical Feasibility: What Actually Scans Well
Before discussing impact, start practical limitations: 3D scanners only capture what cameras and light can observe from the outside. Internal structures do not appear unless an object can be safely opened, disassembled, or captured with specialized imaging methods outside standard object scanning workflows.
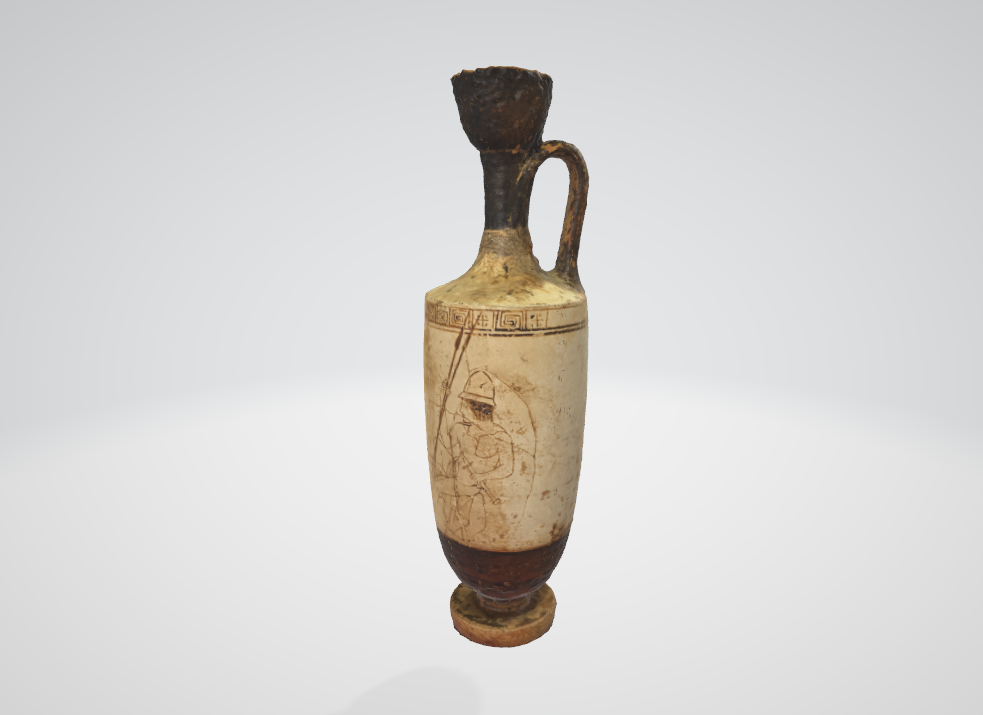
Scanned oil flask, an example of an easy to scan object
Objects that scan well usually share a few traits:
- Opaque, matte, non-reflective surfaces
- Stable forms that can be positioned securely
- Size and geometry compatible with your scanner and turntable limits
- Enough visible texture for software to match points across views
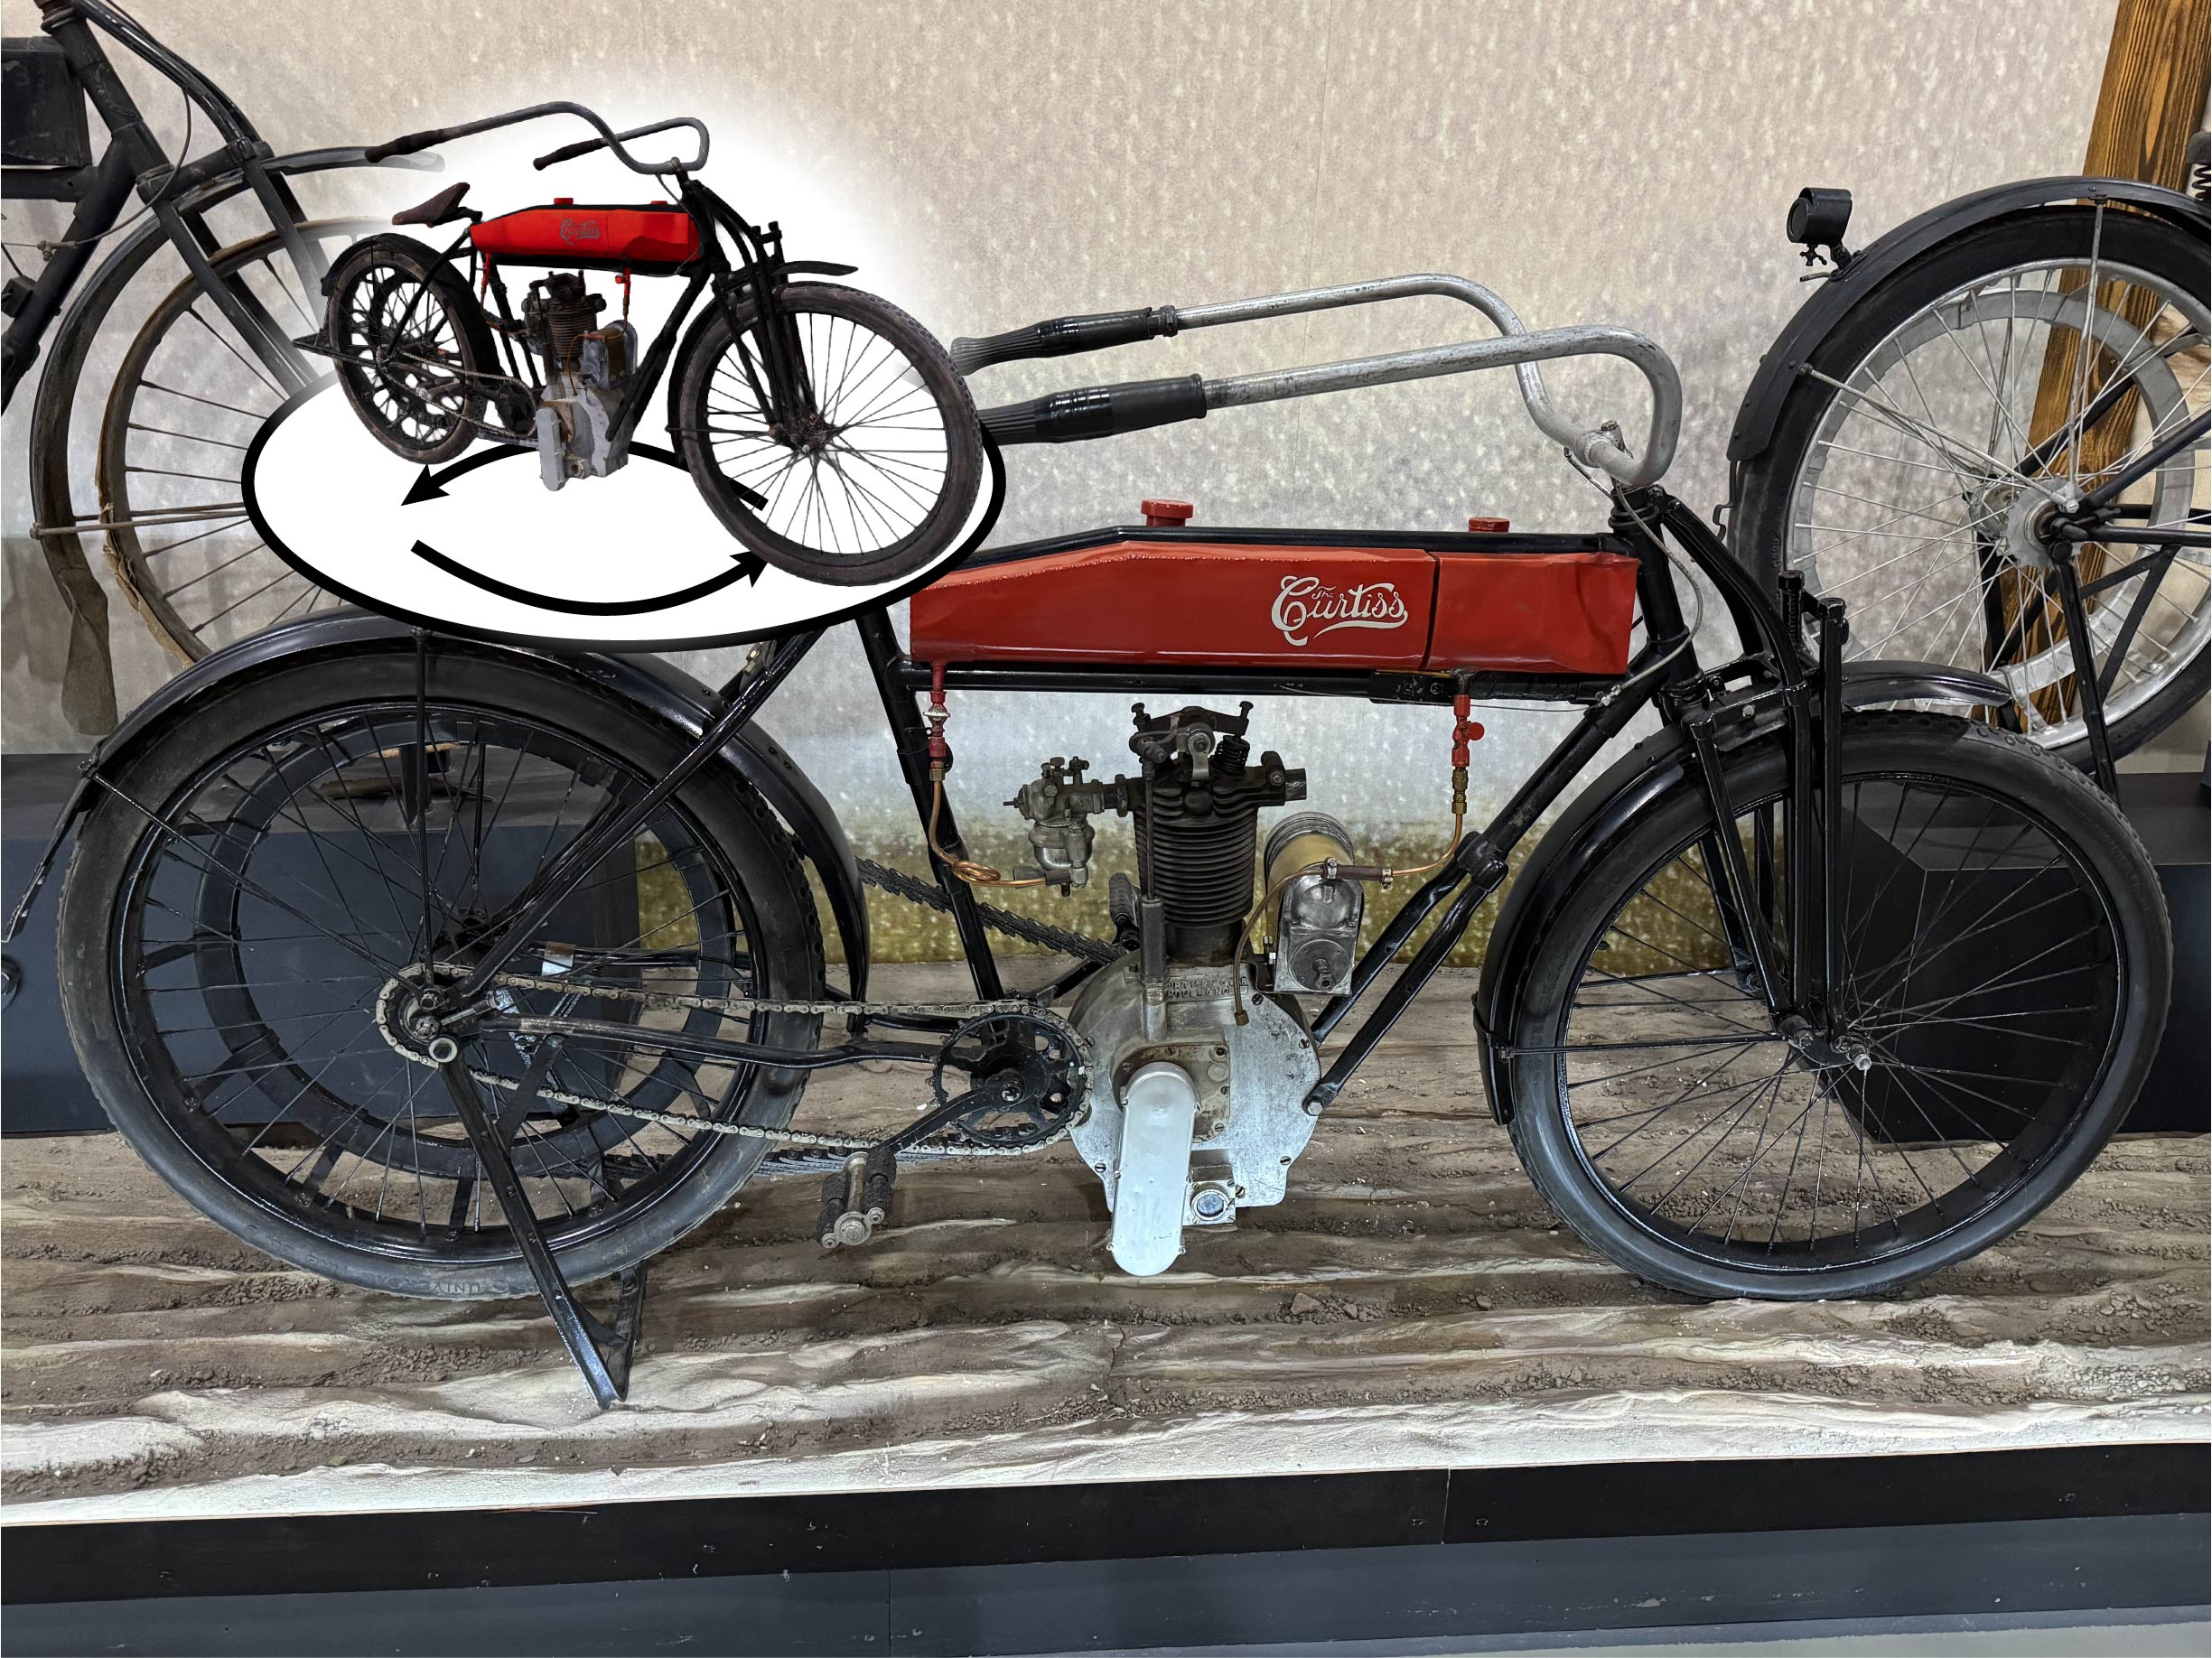
Common problem cases include polished metal, glass, and transparent plastics, where reflections or light transmission can produce holes and noisy geometry. Very dark, absorbent materials can also reduce data quality because the scanner receives less usable signal. Deep recesses, undercuts, and occluded areas create missing regions unless you can reposition safely and capture complete coverage.
A few practical habits improve outcomes quickly:
- Perform gentle, conservation-approved surface cleaning before capture
- Plan mounting and support positions to expose key surfaces
- Test a short pilot pass before scheduling full production
- Reject objects that require risky handling just to "make the scan work"
Technical limits are not a failure. They are a prioritization tool. If an object is likely to produce weak geometry, move it to a later phase and focus first on items that can produce reliable, reusable models.
Educational Value: Choose Objects That Teach and Engage
Once an object passes technical screening, ask a second question: does this object consistently help visitors learn?
Start with frequency of use. Artifacts that appear repeatedly in docent tours, K-12 visits, classroom kits, online lessons, and public talks are high-return candidates. A 3D model of a frequently taught object can be reused across programs without additional handling of the original.
Then look at visitor demand. Which objects generate recurring questions in galleries, on social media, or in virtual programming? If people continually ask what an object is, how it worked, or why it matters, interactive 3D can answer those questions better than a static label.
Narrative importance matters just as much as popularity. Some objects anchor the core stories your institution exists to tell: local industry, migration, scientific discovery, cultural continuity, or community memory. Prioritizing these artifacts ensures your digital collection reflects your mission, not just your easiest scan targets.

This artifact appears in every school field trip. A 3D model lets students explore it from anywhere.
Educational impact is also an accessibility strategy. A strong 3D model lets users rotate, zoom, and inspect details from any location and device. Remote learners, visitors with mobility limitations, and classrooms far from your site all gain meaningful access when high-priority teaching objects become digitally explorable.
If your team is unsure where to begin, ask educators and visitor-facing staff to nominate their "top 10 teaching objects." Their input often surfaces the highest-impact scan candidates faster than metadata alone.
Conservation Value: Protect What Is Most Precious
The third filter is preservation priority. Some objects are not just important; they are irreplaceable.
Unique artifacts, rare specimens, and fragile originals deserve early consideration because a high-quality 3D model creates a durable digital record that can support research, interpretation, and condition monitoring with less physical handling over time.
For conservation and collections teams, this digital record can serve multiple purposes:
- Research access without repeated object movement
- Baseline geometry for tracking wear, deformation, or damage
- Documentation support for loan preparation and risk planning
- Long-term institutional memory for future staff and scholars
Scanning a high-value object does not replace conservation, but it strengthens your risk posture. If deterioration, disaster, or accidental loss occurs, the institution still retains a precise and usable digital twin that preserves form, context, and interpretive value.
When conservation concerns and educational demand point to the same object, that is often a strong signal to prioritize it early.
A Practical Selection Framework You Can Use This Month
Balancing technical, educational, and conservation priorities is easier with a simple scoring method. A lightweight rubric helps teams make transparent decisions and avoid ad hoc selection.
Use a 1-5 score for each pillar:
- Scannability: surface behavior, geometry complexity, handling feasibility
- Educational value: teaching frequency, visitor demand, narrative importance
- Conservation priority: uniqueness, fragility, and long-term risk reduction value
Then calculate a combined score and review with cross-functional staff. A sample workflow:
- Pull a candidate list from collections metadata and exhibit plans.
- Ask educators, curators, and conservators to score independently.
- Compare scores in a short review meeting.
- Run trial scans on top candidates to validate assumptions.
- Confirm a first batch (often 5-10 objects) with clear owners and timeline.
This process keeps decisions mission-aligned while staying grounded in production reality. It also creates a documented rationale for why one object was scanned before another, which is helpful for stakeholders and future planning.
If resources are tight, bias toward objects that score highly in two pillars and are at least feasible in the third. That approach delivers meaningful wins without overextending staff.
Conclusion: Start Small, Prioritize Smart, Build Momentum
Great scanning programs are built through focused choices, not massive first passes. When you prioritize objects that are technically scannable, educationally central, and conservation-critical, each model does more work for your institution.
Start with a pilot set of 5-10 high-value objects. Publish those models where audiences already engage, gather feedback from educators and visitors, and refine your rubric before scaling. Over time, these assets become core infrastructure for exhibits, virtual access, school partnerships, and long-term preservation planning.
Selecting the right objects first turns 3D scanning from a one-off project into a sustainable collections strategy.
Start Your Digitization Program
Learn more about our 3D scanning services to see how we help institutions assess, prioritize, and digitize their collections.
Get Started Today

